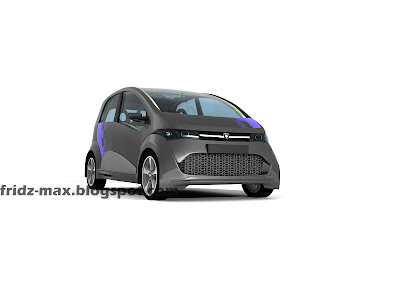
I am still using the Mental Ray renderer on this model. But with a little tweak, I just get what I want. Here are some parameter that's been utilized to get the above photo:
Body color and material:
1) The chrome parts, Matte Finished = Arch and Design (mi)
2) The body color = Car Paint Material (mi) with self design blue chessboard mapping
3) Lower Grill Cover = default color with opacity and bump mapping
Lighting Setup
1) I only use skylight and Scene Environment is turn on (shown in picture below)
2) 1 Target Direct Light with specific angle with Ray Traced Shadows and 0.676 Intensity.
3) and 1 MR Area Omni Light with Ray Traced shadows and 0.4 Intensity
Lets take a look on the light coordination. (picture below)
Render Setup
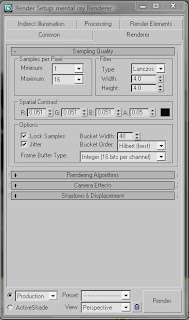
1) On the Mental Ray Render Setup tab, I use Lanczos and min=1 and max=16 Samples per pixel
(Picture shown below)

2) I turn on the Final Gather to Medium preset
3) I also use blank white mapping in the Environment Map
And there is other picture that I want to show off. Thanks


